You can setup IPTV on any device using the thorough instructions in this article.
An IPTV box or streaming device, a dependable IPTV provider, and a stable Internet connection are all required to set up IPTV.
The term “Internet Protocol Television” (IPTV) refers to live TV streaming via the Internet.
Millions of cord-cutters from all over the world who want to get rid of their high cable/satellite bills use this developing technology.

You can save thousands of dollars by setting up IPTV the way we’ll teach you in this article while still getting access to thousands of channels, VOD material, sports packages, PPV, catchup, and other things.
We not only show you how to set up an IPTV service, but also how to do it completely anonymously, protecting your data from your Internet service provider (ISP), hackers, service providers, and other watchdog organizations.
Overview of IPTV Setup:
Guide 1: When using these unreliable services, this will demonstrate how to shield yourself from IPTV service providers, hackers, developers, your ISP, and other watchdog organizations.
Guide 2: This will demonstrate how to obtain an anonymous email account so you can register for untrusted IPTV providers without having to reveal your identify.
Guide 3: This contains a detailed guide on how to sign up completely anonymously for a well-known IPTV service.
Guide 4: You may start viewing live TV after following these instructions on how to install and set up the IPTV service app on your streaming device.
How to Setup IPTV – Online Self-Defense
Before installing IPTV, you need first take precautions to keep yourself safe and feel secure.
We cannot stress enough how crucial it is to use Surfshark VPN to safeguard your online activity when utilizing untrusted services and applications.

What IPTV service providers are doing with consumer data is a complete mystery to us.
And these same people are frequently linked to organized crime, including drug trafficking, fraud, the sale of weaponry, and other bad deeds.
Operators have also been known to give police access to user data that has been seized. Unfavorable for user privacy.
You share your distinguishing IP Address with an IPTV service whenever you set up their website or app.
You can avoid being personally identified by IPTV developers by connecting to the Internet anonymously by using a good VPN. Additionally, it prevents the government, your Internet Service Provider (ISP), and other third parties from keeping track of the websites you view online.
Did you know that in the US, your ISP can sell the information about your internet activities to third parties? When your ISP cannot access any of your online activity, there is nothing to sell.
Get a secure VPN first, of course, so you don’t have to worry about anyone monitoring your internet behavior.
To sign up for Surfshark VPN and receive a special discount for IPTV Wire subscribers, follow the instructions below.
1. Click Get IPTV VPN on the Surfshark VPN website.

2. Select your strategy. We advise purchasing the plan for $2.30 per month (a 82% savings).

3. Select a payment option.

4. After providing your payment information, click Finish Purchase.

5. And that’s all! Check your email immediately following payment to find your login information. Note this down because you’ll need it later when you log in to the following sections.
6. After that, download the Surfshark VPN application to your Windows or Mac computer, tablet, phone, or any other device you plan to use to subscribe to an IPTV provider.
You can download the installation file for each device by visiting the Surfshark website.

For added security, continue reading to learn how to obtain a free anonymous email account.
How to Configure IPTV – Obtain a Private Email Address
Your online privacy is further protected when configuring IPTV if you use an anonymous email address.
You shouldn’t enter your personal email address while signing up for a dubious IPTV service!
The best part is that registering for our suggested anonymous email address is totally free.
The well-known anonymous email provider Tutanota is utilized in this guide. The steps are listed below.
Important! VPNs don’t get along with Tutanota, therefore turn them off before viewing the website.
1. Go to tutanota.com, the website for Tutanota

2. Then, on the Tutanota main page, select Get Encrypted Email.

3. We advise making use of the Free plan. Then select.

4. After checking the boxes, click OK if the message appears.

5. After setting up your password and checking the security boxes, create a new anonymous email address and click Next.

6. If you’d rather, note the Recovery code and click OK.

7. Next, provide the details for your new anonymous email address. Click Sign up.
NOTE: You will need your anonymous email address when signing up for IPTV services in the next phase, therefore we recommend writing it down.

8. You’re done! Tutanota has helped you successfully create an anonymous email account.

To learn how to sign up for IPTV services completely anonymously, continue reading below.
How to Set Up IPTV – Using an Anonymous IPTV Service Registration Form
You can install IPTV services with confidence now that you have both a VPN and an anonymous email address.
As previously said, we have NO IDEA what these providers of IPTV services are doing with user data, and there have been instances in the past where providers of IPTV services have turned over user data to law enforcement!
For instructions on how to set up an IPTV service anonymously, see below. On a Windows computer, Mac, tablet, or phone, is what we advise doing this.
In this illustration, we’re using one of the most well-liked IPTV services out there.
Note: This process will be comparable regardless of whatever IPTV provider you select from our list since the majority of IPTV services use the same registration technology.
1. Open Surfshark VPN and connect to the fastest server as soon as possible. When registering for an untrusted IPTV service, this will conceal your IP address.
They will have your identifying IP Address, which directly links back to you via your Internet Service Provider, if you don’t register with your VPN enabled.

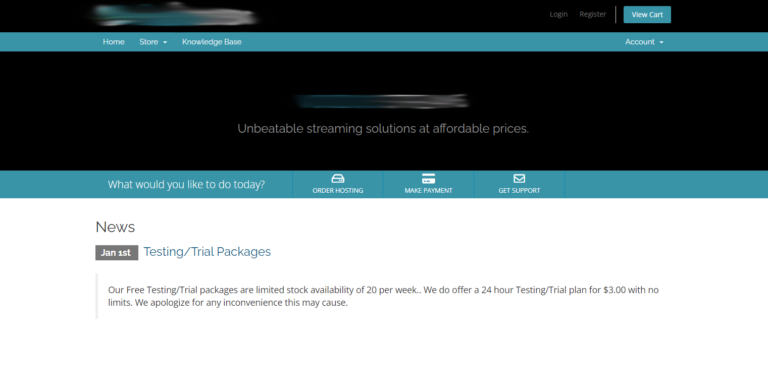
2. Select a service from our list of the Best IPTV Services, then go to their website.

3. On the top menu, select Order Hosting.

4. Select the preferred plan. Given that IPTV services can fall offline without warning, we advise selecting a month-to-month subscription.

5. Click the green Checkout box on the Review & Checkout page.

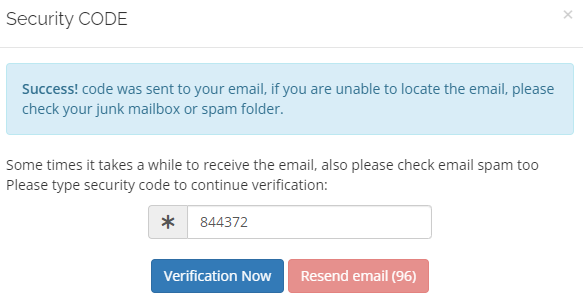
6. A few IPTV services demand email confirmation. Click Send Verification Code and enter the anonymous email you established in the earlier phase.

7. Look for the code in your private emails. Once you’ve entered the code, click Verification Now.
.8. The Register page then appears after that. Scroll down and enter the necessary data.
Remember to use your anonymous email address if one is requested!

9. After providing your payment information, click Complete Order.
Important: If one of the following payment options is offered when requested to enter payment information, do so.
PayPal
Unsecured Credit Cards
cryptocurrency such as bitcoin
Unknown Credit Cards

10. You will receive a crucial confirmation email with IPTV service login credentials, a payment receipt, and instructions for installing the IPTV app on your streaming device after your purchase and registration have been processed.
You should record your IPTV service login information because you will need it in the following phases.

11. Go back to the webpage for your IPTV service and select Login. Use the username and password listed in your email confirmation from the previous step to log in.
12. The end! Your dashboard or panel should resemble the screen below once you’ve logged in.

To install the IPTV app on your streaming device, keep reading this guide.
Installing the IPTV Service App in How to Set Up IPTV
We now need to install an application on our device to start watching live channels after configuring an IPTV service.
IMPORTANT STEP: Install Surfshark VPN before you begin watching any live channels from unverified sources so that your online identity is concealed from your ISP, IPTV service providers, hackers, and others.
The Kill Switch will then be activated as we demonstrate. The Kill Switch is crucial because if it ever activates, your IP address will be exposed.
If you haven’t yet installed Surfshark VPN on your Firestick/Fire TV or Android TV Box, simply follow the easy instructions below.
You can follow these steps to install Surfshark from the Google Play Store if you’re using an Android device.
1. Open a Surfshark VPN account (if you don’t already have one) – GET DISCOUNT BY CLICKING HERE
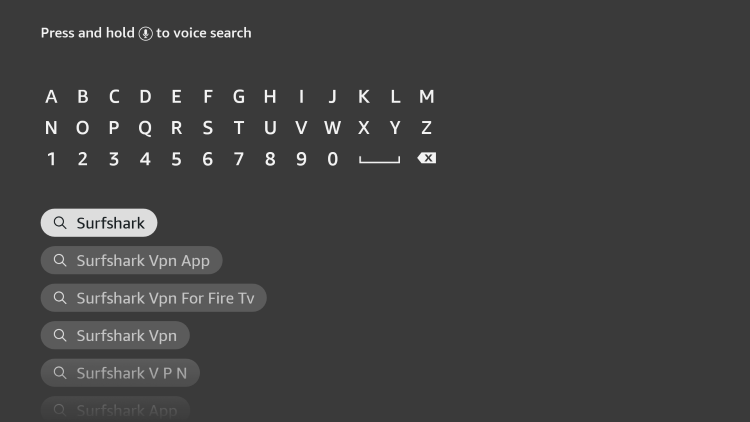
2. Click Search after hovering over Find in the main menu.
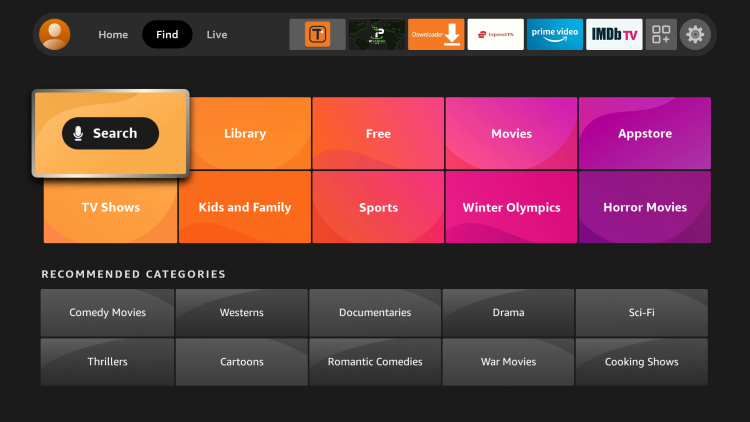
3. In the search box, type “Surfshark” and select the first result.
4. Tap the Surfshark VPN application.

5. Select Get or Download.

6. Allow Surfshark to install for a few minutes. Next, select Open.

7. Watch for Surfshark VPN to start up after a brief delay.

8. Select Sign in.

9. Type in your Surfshark login credentials and click Log In.

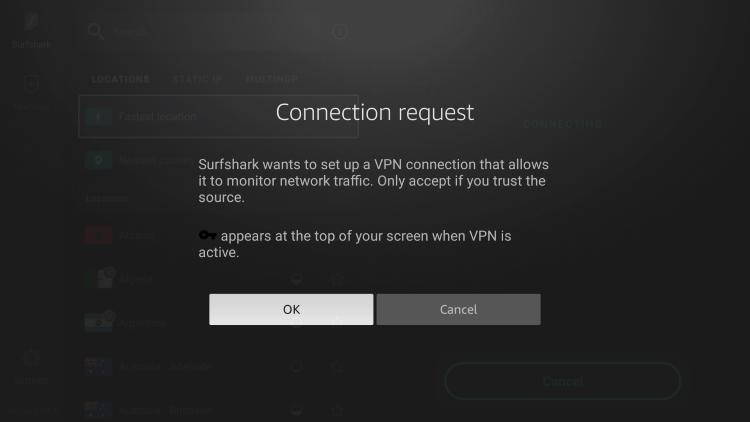
10. To connect, click Fastest Location.

11. Press OK.
12. Your Firestick or Fire TV now has Surfshark VPN installed.

13. Next, select VPN settings by clicking the Settings button in the lower left.

14. Check to see if the Kill switch is turned on by hovering over it.
If Surfshark VPN ever disconnects for whatever reason, using a Kill Switch will immediately cut off your connection to the Internet.

We can install and set up the IPTV service now that Surfshark VPN has preserved our internet privacy!
Installing an IPTV Service
While some IPTV services provide standalone apps of their own, we will use IPTV Smarters Pro, a well-liked IPTV player that is now utilized by the majority of IPTV services.
Install the IPTV Smarters app on your device and couple it with your IPTV service by following the screenshots below.
1. Download the Downloader application from your preferred App Store (Amazon or Google Play) and enable Apps from Unknown Sources in your device’s settings.
Please refer to the tutorial below, which leads you through this easy process, if you haven’t done so already.
2. Start the downloader

3. Select “Allow”

4. Press OK.

5. Select the URL field.

6. Type the upcoming URL and press Visit iptvwire.com/smarters now.
Note that installing this is also possible by utilizing the hidden Downloader code 80911.

7. Permit the application to download.

8. Press “Install”

9. press “Done”

10. Start your device’s IPTV Smarters app.

11. Select OK.

12. The IPTV Smarters app has been successfully loaded on your smartphone!

Setting Up an IPTV Service
You can now set up your IPTV service after downloading and installing the IPTV Smarters app on your smartphone.
1. Decide how you will sign in to your IPTV service. We are logging in with the Xtreme Codes API.
The majority of services will provide you either an M3U URL or an Xtream Codes login.

2. The display on your computer should now be as seen below. You should now refer to the email confirmation you should have received from the IPTV service after registration.

3. Type your login information and select Add User.

4. Your user profile ought to show up. your profile by clicking.

5. Hold off while IPTV Smarters Pro downloads the channels, movies, EPG, and other content from your service.

6. Your streaming device is now successfully configured with IPTV Smarters Pro!

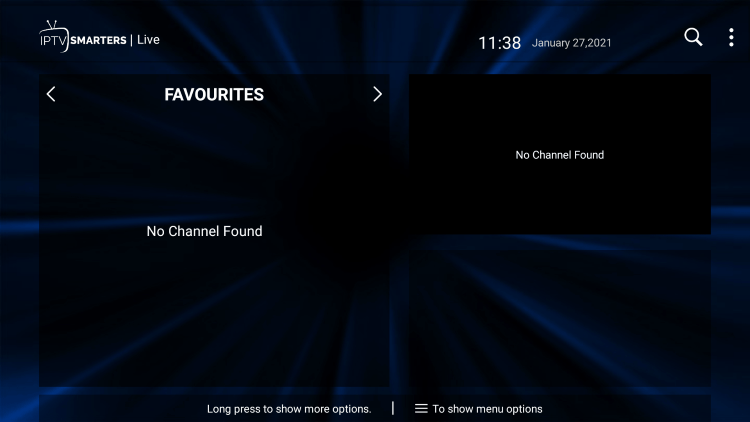
7. Click Live TV to start the live channels on your IPTV service after installing the IPTV Smarters app.

8. All of the live channels should now be visible. Simply select your preferred category.

9. A list of available channels will then appear. Double-clicking the channel will start fullscreen mode.

10. Go back to the home page and select Install EPG if you prefer to use an electronic program guide (EPG).

11. The EPG with the channels from your IPTV Service should show after a little while.

Using the IPTV Smarters app, you have set up your IPTV service successfully!
You can adjust a number of parameters as well to enhance your IPTV service.
Click Settings from the IPTV Smarters home screen’s top-right menu.

Take note of all the parameters that are accessible for customization. External Players, Multi-Screen, General Settings, and other options are frequently used settings.

Bonus Features for IPTV Setup
There are numerous extra options available to you once you have successfully installed the IPTV Smarters app and connected your IPTV service.
Adding channel favorites, including external video players, is one of the more well-liked features.
Adding Channels to Favorites
One of the nicest aspects of utilizing IPTV Smarters is the capability to add channels to favorites!
The quick instructions below will show you how to add channels to your favorites.
1. Select any favourite channel and keep the OK button depressed.

Click Add to Favorites in step two.
2. Press Add to Favorites.

3. A star icon will appear next to the channel.

4. Go back to the list of channel categories and select Favorites.

5. You’ll see that your chosen channel is now listed in your Favorites.

6. Hover over a channel, hold down the OK button on your remote, then click Remove from Favourite to remove it from your Favorites.

7. And that’s all! Within this IPTV player, you may now add and remove stations from your Favorites.
How to Include Outside Video Players
The ability to integrate external video players like MX Player Pro is another fantastic feature of IPTV Smarters.
We demonstrate how to incorporate an outside player in the example that follows.
Click Settings on the home screen to start.

2. Pick Outside Players.

3. Select Player.
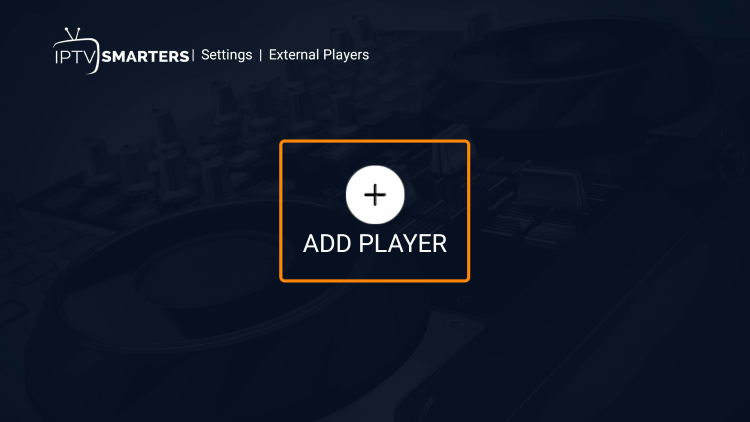
4. Opt for your preferred external player. In this case, we went with MX Player.

5. Press Add.

6. The end! You’ll see a notification that reads “Player added successfully.”

In conclusion, we hope that this article helped you set up IPTV on any device.
When it comes to watching live TV, movies, TV shows, and other media, our advice will help you avoid spending hundreds or even thousands of dollars per year.
For further details on configuring IPTV, see the video below.