Update the Fire TV Stick: How to Do It
Get assistance configuring and resolving typical Fire TV problems. Amazon started releasing a new interface for the Fire TV Sticks and Cube in late 2020 and early 2021. If your device hasn’t updated yet, follow the next 5 simple steps to get it there. If you have a Prime subscription, there are still plenty of ways to make the most of it on the new, slightly smoother interface.
- At the top of the home screen, select Settings.
- To choose Device, scroll to the right.
- Choose About.
- Go to System Update and select Check.
- To update your Fire TV Stick, follow the instructions.
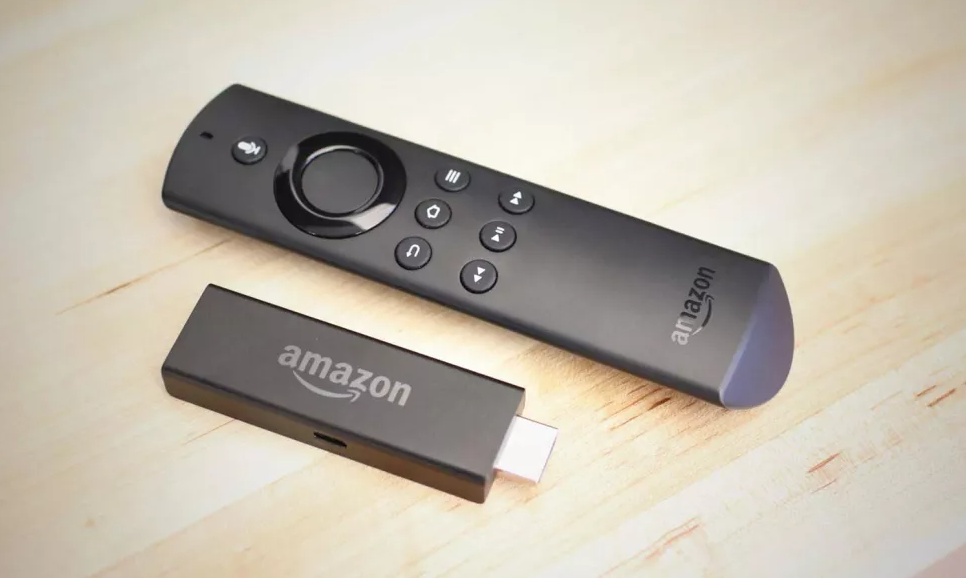
Although the included USB Micro cord and power adapter may not be required to set up the Fire TV Stick, you’ll want to use them to ensure speedier performance.
Here is all you require to set up your Fire TV Stick so that it can stream all of your favorite media.
#1. Start by connecting the USB Micro cord to the power supply

#2. Connect the opposite end to the Fire TV Stick

#3. Connect the Fire TV Stick to your TV’s HDMI connector

#4. On your remote, select “Home”

If you are having difficulties with this step, try holding Home for 10 seconds on the remote control that is closer to the Fire TV Stick and switching to fresh batteries.
Simply unplug the power source from the Fire TV Stick, wait a moment, and then plug it back in if those instructions don’t work (as they didn’t for us).

#5. Use your remote to press Play or Pause

#6. Choose a language

#7. Choose a Wi-Fi network

#8. Type in your password, then click Connect

#9. Choose Create an Account or Sign In
Assuming you already have an Amazon account, the actions that come next after choosing Sign In are as follows.

#10. Open amazon.com/code
Open on a phone, tablet, or computer, sign in, and input the special activation code you receive in step 2.

#11. Choose Continue
Rather than Change account since doing so would indicate that you had previously entered the incorrect ID.

#12. Select Yes or No
To opt in or out of having Amazon store your linked network passwords, select Yes or No. Personally, I go with “No.”

#13. Choose whether to use parental restrictions

#14. If you chose yes,
Enter your PIN for parental control and write it down somewhere your child won’t find it.

#15. Press OK
After noticing the location of Parental Controls management.

#16. Press Next
To check that your Fire TV Stick’s remote is compatible with TV controls, click Next.

#17. Click Yes to confirm after adjusting the volume

#18. Press OK

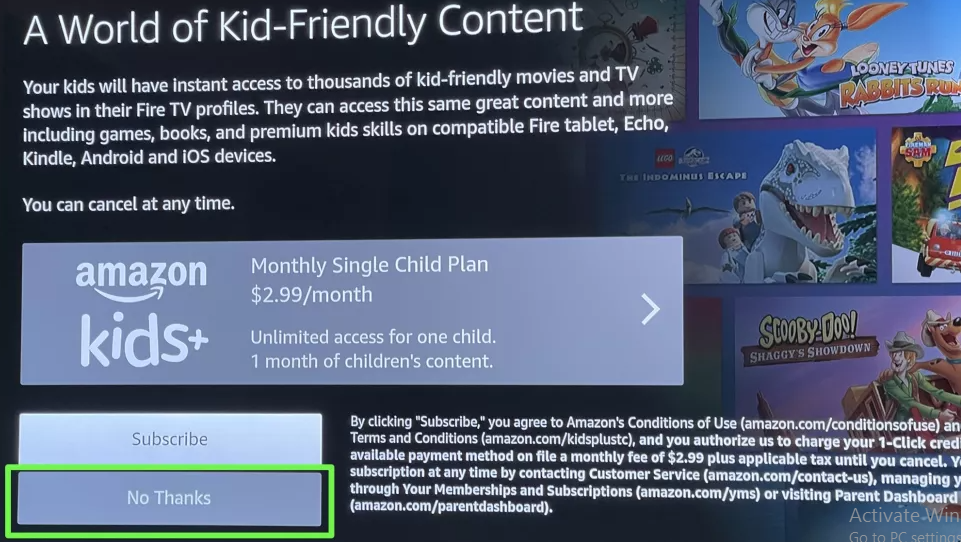
#19. Register with Amazon Kids+
(if you don’t have Prime, it might display a message for it) or choose No Thanks.
#20. Press Get Started
Choose Get Started to go through Amazon’s on-boarding process for downloading apps, or choose No Thanks to skip it. Observing which apps are recommended and which are not is usually quite strange.

#21. Select the popular services you want
Click directly on TV channels after choosing the well-liked services you desire. I’d genuinely use the apps that are listed here.

#22. Select the TV channel
Choose the TV channel apps of your choice, then select right the sports apps.

#23. Pick the sports applications you want
Choose the sports applications you want, then click on the highlighted apps. If the apps you want to watch are unavailable in your country. You can use a VPN.

#24. Click Play to continue after selecting the featured services you desire

#25. To download apps, Click Finish

#26. Press Got It to proceed

#27. Press Parental Controls PIN
Enter the Parental Controls PIN (clearly, if you didn’t create a PIN for Parental Controls, skip this step).

#28. Choose a user profile

Your Fire TV Stick is configured!

If you still have trouble understanding then you can watch this video. This video contains all the instructions.